Kids need more than just curriculum & content. They need to create!
When you’re trying to help kids learn about area & perimeter in a math class, it’s important to teach them basic formulas for rectangles and triangles and other basic shapes.
But unless you live in LEGO land, not everything is made of polygons and basic shapes.
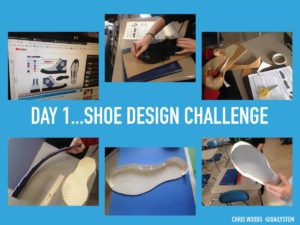
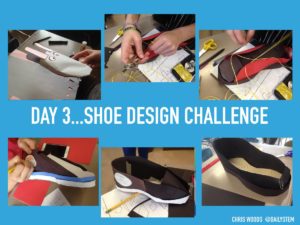
I started doing The Shoe Design Challenge with my students last year, and after just one day I knew it would be one of the most memorable things the kids would do in my classroom!
We began by having kids trace their own shoes on a piece of graph paper (1/2 inch works well) and try to find the area of their shoe. They realize right away that area (and perimeter) are not always easy to calculate in the real world. I help them come up with some good estimates, but it’s not an “exact” kind of thing. I even ask them “what would make our estimates better?” and guide them to the idea of using smaller and smaller graph paper, which can even lead to the idea of pixels on a screen (you can bring that up at a later time).
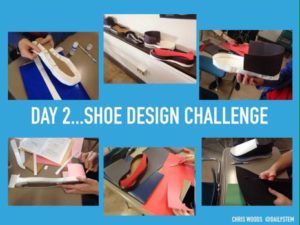
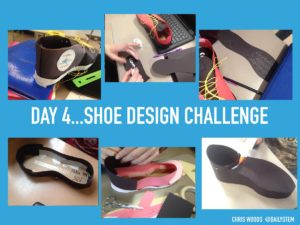
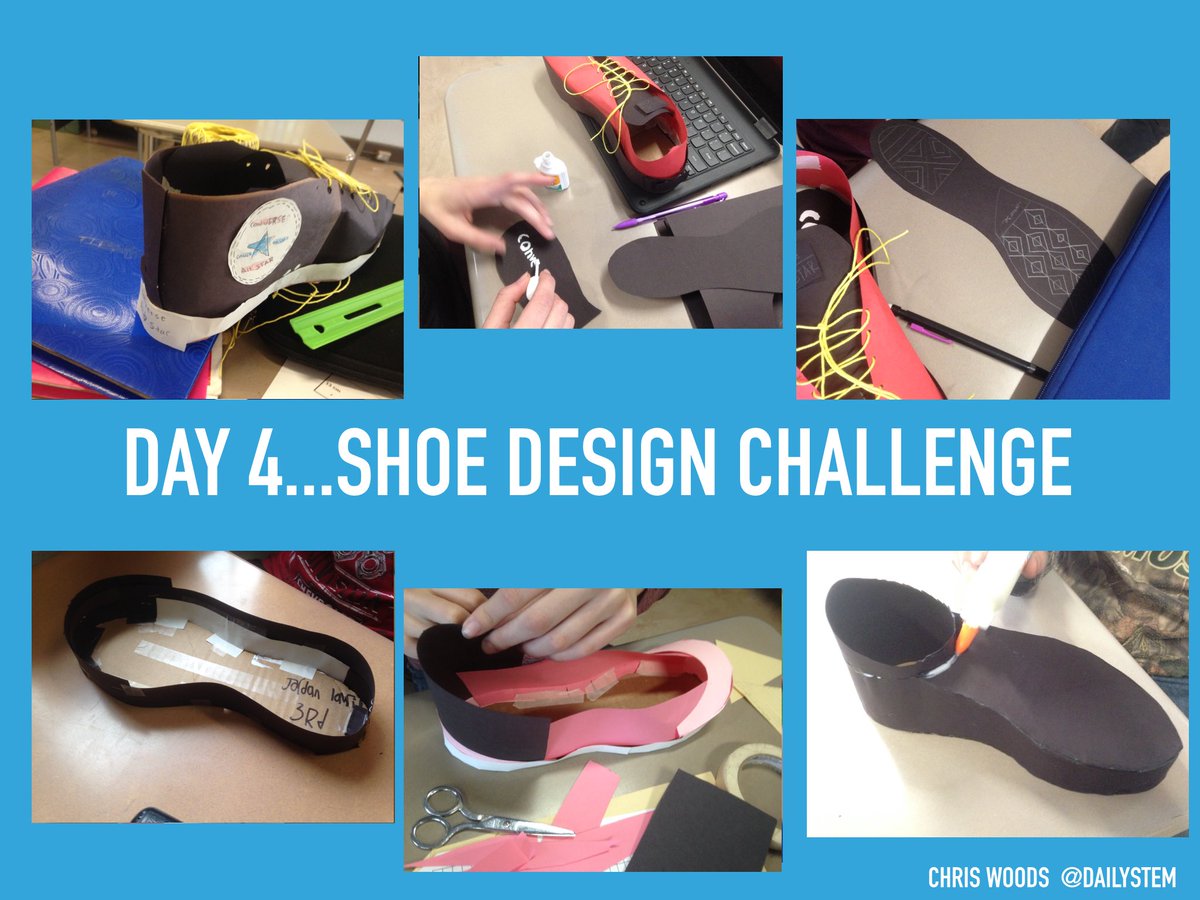
Eventually we move from analyzing what makes a good shoe to designing a shoe, then to actually building one.
Here’s a document (in PDF form) I hand out to the kids to help them think through all these ideas.
And if you’d like to get kids thinking about shoe design for various foot problems (empathy) check out
this Google Slides document by
Mrs Bailey
I also use some videos to help kids think about design and what people actually do as real shoe designers. Here’s a link to the
YouTube Playlist Don’t show them the videos all at once. Sprinkle them in when the kids need a little more inspiration or a break.
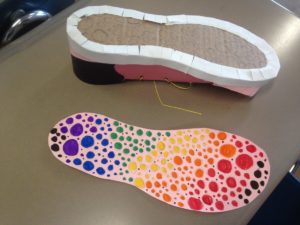
Eventually we start “building” shoes. I prepare ahead with a bunch of cardboard cut into rectangles that are approximately shoe sole size, and then let the kids build from there (usually with construction paper). They always start to fumble along when they get to trying to curve the paper. Feel free to step in and help, or back away and let the kids come up with their own ideas (all part of the Engineering process).
I’ve found it works well to do the challenge a little at a time each day. I use about 1/2 to 2/3 of my geometry period each day for 5 days to work on it, instead of using the whole hour. Even though it requires more set up & clean up, it forces the kids to think through their processes and problems from one day to the next.

If you need some help or more information, feel free to contact me! I’ve also helped teachers do this challenge as part of conferences!
Don’t be afraid to make a mess with your kids. Learning is messy.
Oh, they make mistakes too. Making a left sole to put on a right shoe can be a great lesson too.
More Resources:
A High School volleyball player in Michigan is missing part of her leg and wears a “blade” prosthetic
Nike just announced a self-lacing shoe…Technology makes it “tighten”

Love this idea! I can’t wait to do it with my students!